![]()
8-30-08
 |
 |
|
Bob and Tom worked on screwing down safety "kicker boards" for our ladders to rest against, so they don't kick out while in use. |
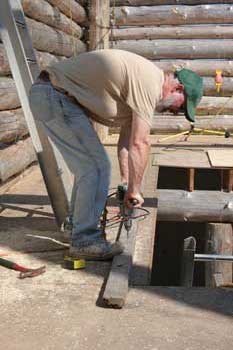
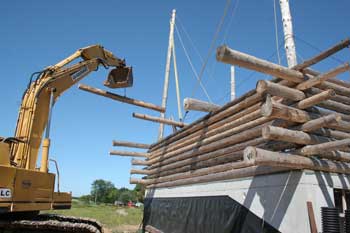
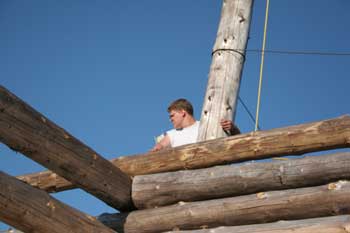
Since our girder positions were marked yesterday, we moved an end to one side so Paul could begin carving the saddle notch. He's already made a few vertical cuts. Now he's popping out wood chunks with a pry bar. |
|
 |
 |
|
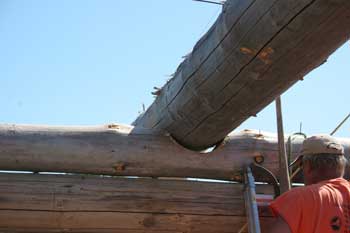
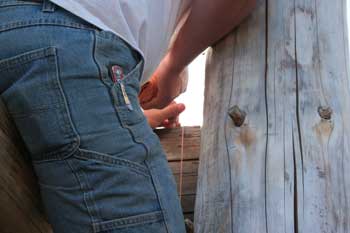
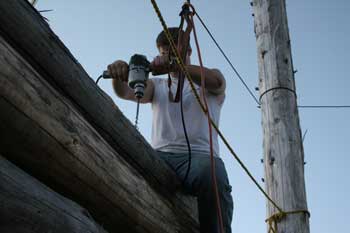
With one end of one girder not needing a saddle notch, Bob drills two holes for rebar pins. |
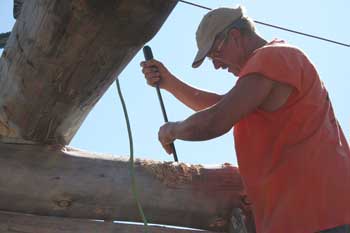
Paul works on shaping the notch with the chainsaw wheel. |
|
 |
 |
|
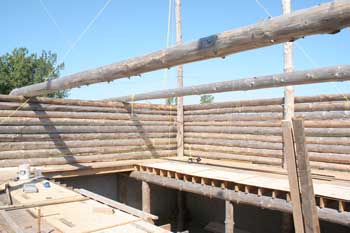
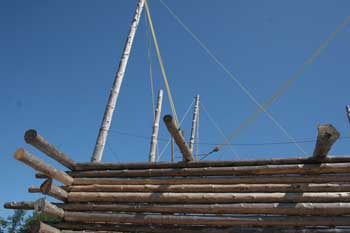
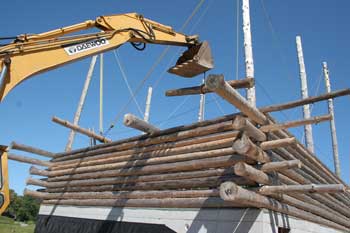
A look at our rough work so far. |
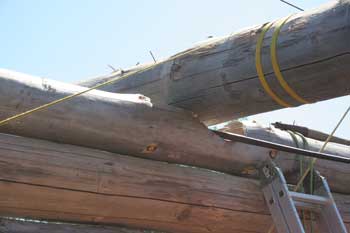
This notch isn't quite right yet. |
|
 |
 |
|
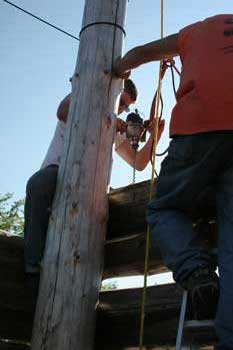
To roll the log up and out of the saddle notch, we used a come-along wrapped around the top of the log. |
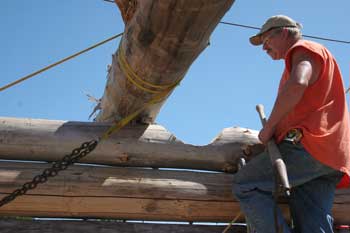
Paul watches as the log gets rolled back into the notch. |
|
 |
 |
|
Instead of rolling the log out of the notch, which tended to cause it to rotate slightly, we decided to pick it straight up. |
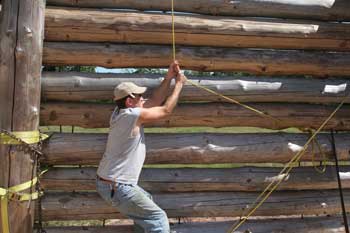
Tying the lead rope off to a pin and pulling at an angle like Jillena's doing here, it was much easier for one person to lift the heavy log. |
|
 |
 |
|
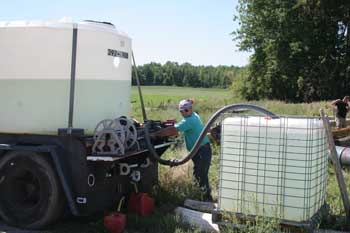
John fills our smaller water tank from the truck... |
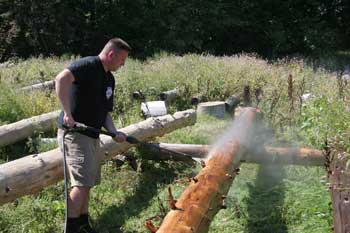
...so Jeff's friend, Fred, can pressure wash a log. Fred lives in Maryland and just showed up unannounced. He was "in the area". What a nice surprise that was! |
|
 |
 |
|
Because the second floor girders are oriented opposite of each other, they appear uneven. But that's an illusion. They're both level when measured from floor to their top surfaces. |
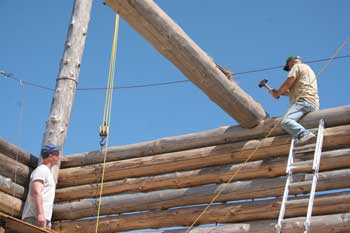
Bob drives two more girder pins while Tom looks on...again. |
|
 |
 |
|
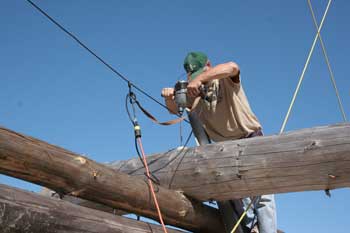
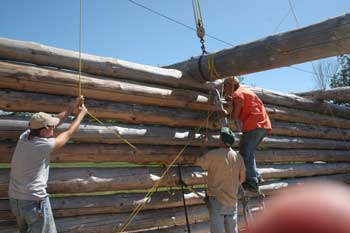
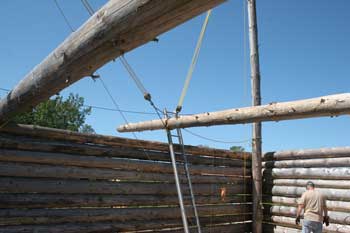
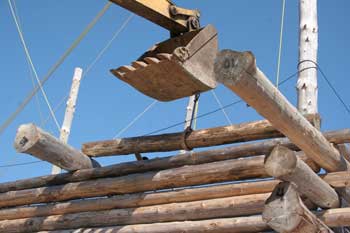
The last end to make a notch for. The end has been picked up by both block and tackle sets while the notch is carved. |
Finished! Now to begin course 11. We decided to start with the West wall, which meant putting up this log in 3 sections. |
|
 |
 |
|
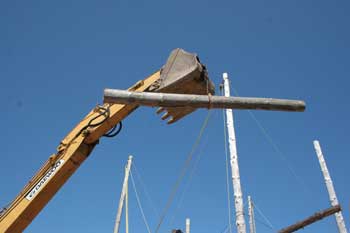
These logs seem like sticks compared to what we've been lifting. |
Swinging the log around so it's oriented properly. |
|
 |
 |
|
Lowering the first log section. This one will be a butt end so it's already been cut to length. |
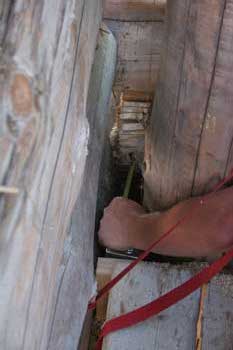
Checking this log section for plumb. It's difficult to see here, but the plumb bob is being steadied near the inside corner of the bottom log... |
|
 |
 |
|
...while Aaron holds the plumb string against the inside edge of the log section we just set. |
Paul watches as Aaron drills the first hole near the end of the log. |
|
 |
 |
|
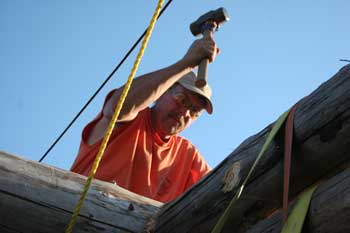
Paul shows Aaron how to drive a pin one-handed with a 6lb. hammer. |
A bit difficult to see, but a sketch for a side saddle notch has been made on one of the log section. |
|
 |
 |
|
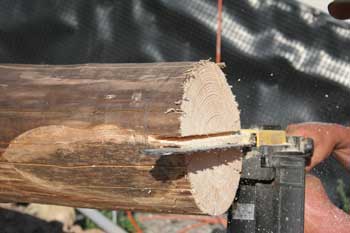
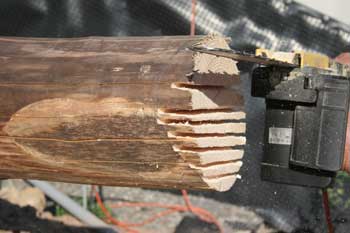
To cut the notch, a few cuts are made perpendicular to the log... |
...making sure not to cut deeper than the sketch line. |
|
 |
 |
|
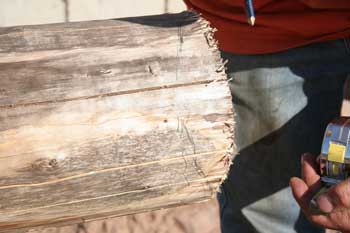
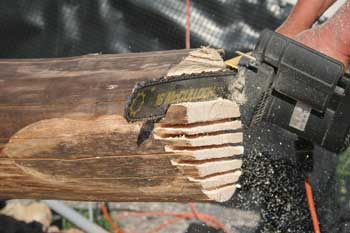
The a rough cut is made to take out the long pieces. |
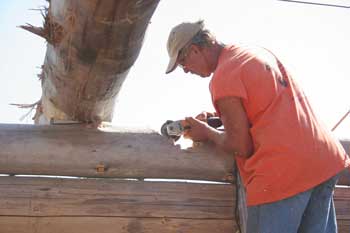
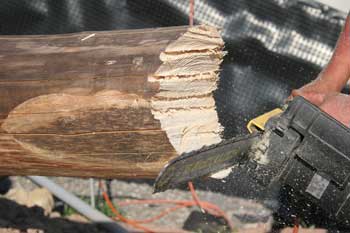
Then the chainsaw becomes a planer, making passes across the rough surface to smooth it out. |
|
 |
 |
|
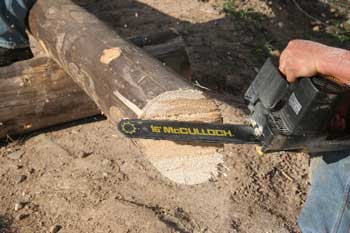
Planing the upper half. |
Aaron helps guide the "pass" section of this wall into place. |
|
 |
 |
|
Paul drives a pin in the corner of this log piece. |
Aaron drills a few more holes along the rest of the wall. |
| <-- BACK TO LOG STRUCTURE (PAGE 2) |
BACK TO OUR LOG HOME MAIN PAGE
If you have any questions about this website, e-mail us at stargazer@stargazerpics.com.
HOME | aurorae | moon & lunar eclipses | night sky shots | landscapes | animals unique shots | our wedding | Alaska 2006 | our log home | Stephen | Oliver | Alistair |
These pages and their contents Copyright © All Rights Reserved.