![]()
6-27-08
 |
 |
|
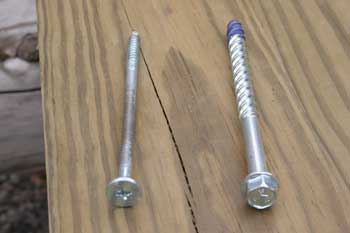
The old Philips concrete screw that didn't work so well and the new concrete bolt that we ended up using instead. |
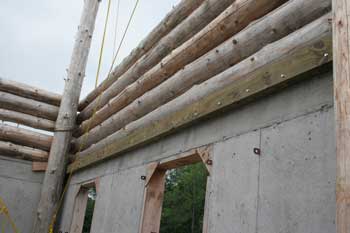
Before Paul and LouElla arrived, Jeff was able to get most of the holes re-drilled and the new bolts installed in the existing ledger beams. |
|
 |
 |
|
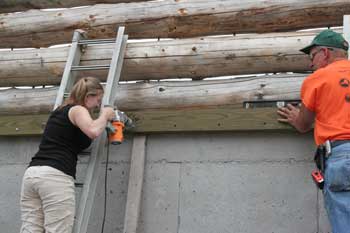
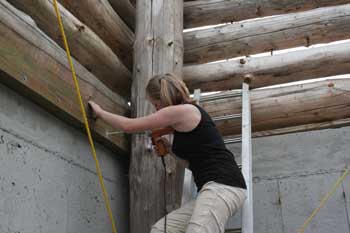
LouElla quickly learned how to use the power tools. Here she's using the hammer drill to drill a hole in the concrete behind the beam. |
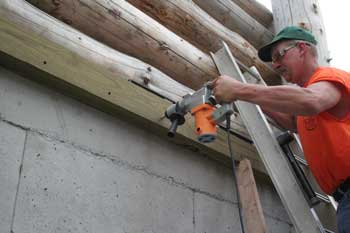
Paul drills a few holes toward his end of the beam. |
|
 |
 |
|
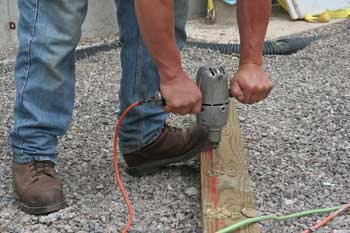
Using an electric impact wrench to zip the new concrete bolts through the beam and into the wall. |
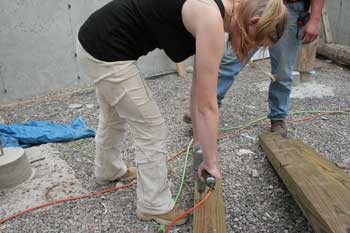
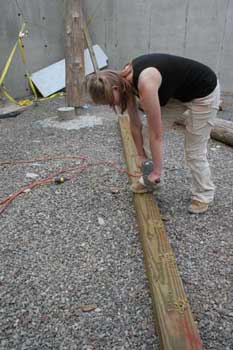
LouElla drilling holes in the next ledger beam before it's set up on the wall. |
|
 |
 |
|
Paul sharing the hole-drilling job. Here you can see the chalk line marking the horizontal location of the bolts. |
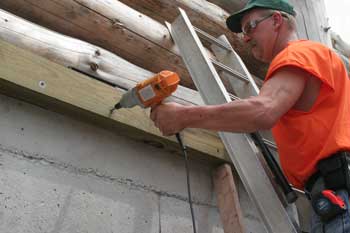
This beam had a slight bow to it, so Paul held pressure against it with a 2x4 while Jeff drilled through to the concrete. |
|
 |
 |
|
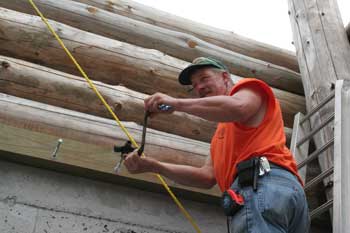
Another old-fashioned tool Paul found in his collection. This is some kind of crank wrench with four selectable sockets. Unfortunately, all of the sockets were too big for our use so we had to resort to our power tools. |
LouElla uses the impact wrench to drive in a few bolts. |
|
 |
 |
|
Drilling holes for another ledger beam. |
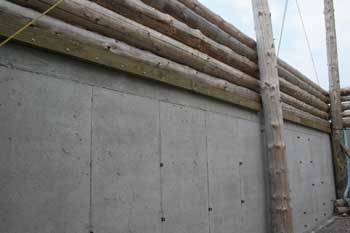
The finished ledger on the front wall. |
|
 |
 |
|
Drilling the last few holes for the final sections. |
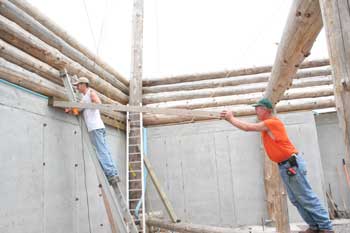
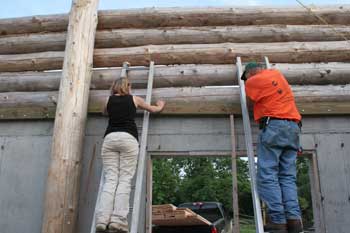
LouElla and Paul secure the last ledger beam above the rear basement door. |
| <-- BACK TO LOG STRUCTURE (PAGE 2) |
BACK TO OUR LOG HOME MAIN PAGE
If you have any questions about this website, e-mail us at stargazer@stargazerpics.com.
HOME | aurorae | moon & lunar eclipses | night sky shots | landscapes | animals unique shots | our wedding | Alaska 2006 | our log home | Stephen | Oliver | Alistair |
These pages and their contents Copyright © All Rights Reserved.