![]()
6-15-08
 |
 |
|
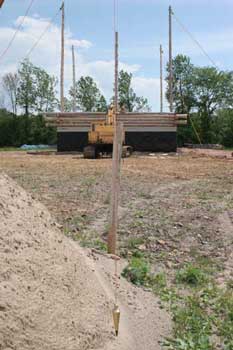
We needed to make sure the RPSL was as plumb as possible before we committed to bolting it to the front wall. So we went out front and set up a plumb bob (foreground) and sighted back to the pole. |
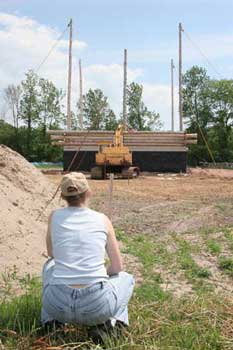
Jillena sights the pole after Paul adjusted its vertical line a bit with a come-along. It looked perfect! |
|
 |
 |
|
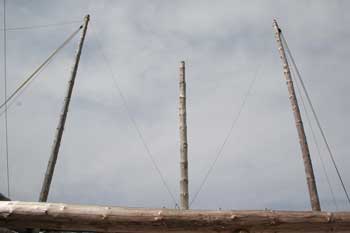
Looking straight up the outside of the front wall. |
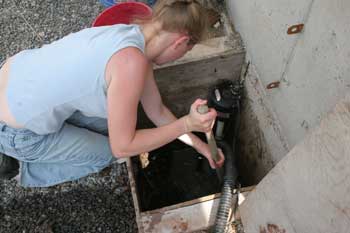
While Jeff and Paul worked on bolting the RPSL, Jillena worked at getting the rear RPSL pit pumped out as much as possible. She also had to get down in there and dig stone out of the bottom. |
|
 |
 |
|
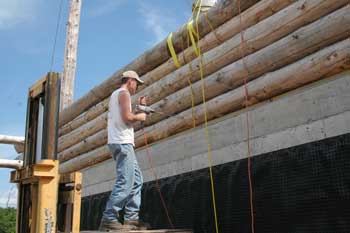
We decided to do all our drilling from the outside of the wall. We first used our 18-inch-long 1/2" auger bit to drill through as far as we could, then switched to a 54-inch-long 9/16" flex bit to complete the hole through the log and pole. The flex bit was the only thing we could find and it worked quite well. |
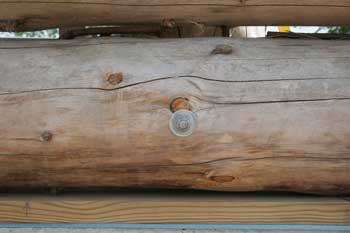
To secure the RPSL to the wall, we used 1/2" all-thread with a 5/8" washer doubled with a 1/2" washer on both sides. This will be done on every odd-numbered wall log. In this picture, you're seeing the bolt through wall log #1 . If you peek through, you can see the RPSL behind the wall. |
|
 |
 |
|
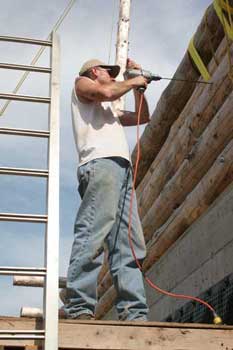
Jeff using the flex bit to make it all the way through about 30" of log. |
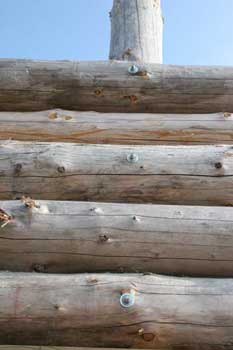
All three bolts are in place and secure, so the ropes came off. That RPSL isn't going anywhere. As we continue up the walls, we'll also continue to add a bolt through every odd log. |
|
 |
 |
|
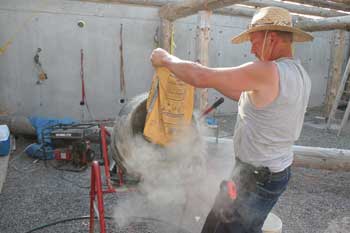
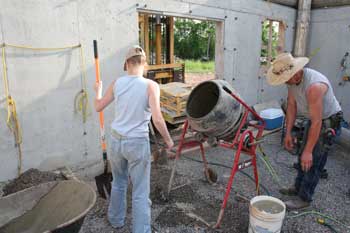
Next it was on to mixing concrete, one bag at a time. |
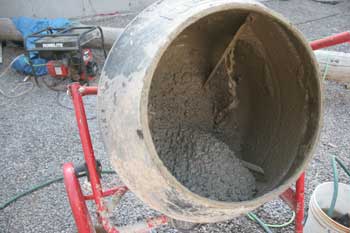
Consistency looks good. Time to pour. |
|
 |
 |
|
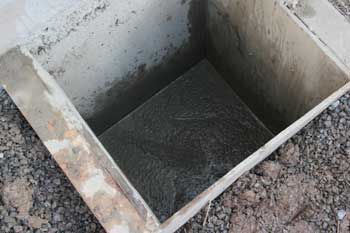
With a few inches of water still in the bottom of the pit that the pump couldn't get out, we just dumped in 3 bags of concrete and it soaked up that water in no time. This is one of three pits along the back wall. Each one is 2'x2'x4'. |
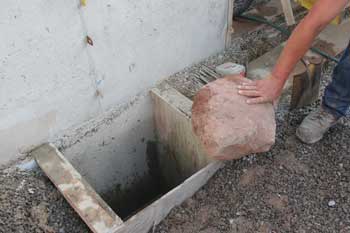
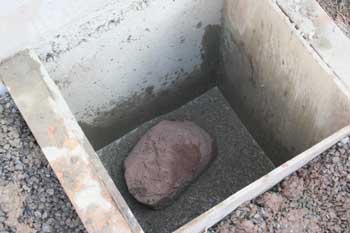
We decided to put some of our field stone to good use by tossing a few into the pit as we built up the concrete. This was the first and largest rock Paul brought in by himself. Ready to give it a shove? Stand back! |
|
 |
 |
|
No splash - not soupy enough, which is good! Now to add more concrete to fill around the rock. |
Jillena and her dad made a great team. I bet they've done this together before. |
|
 |
 |
|
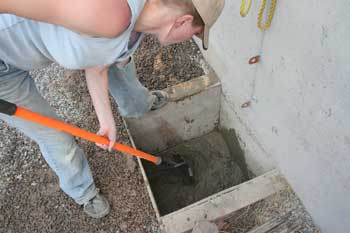
Paul finally had to head for home, so Jillena and Jeff took over. Jillena's using the shovel as a plunger to get the air bubbles out. |
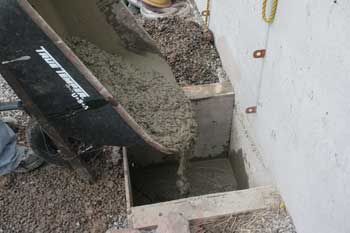
Dumping another load in. The level is getting close to the top. |
|
 |
 |
|
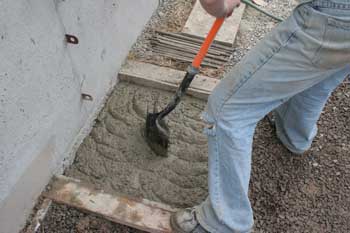
Working the concrete before the last bit gets added to level it off. |
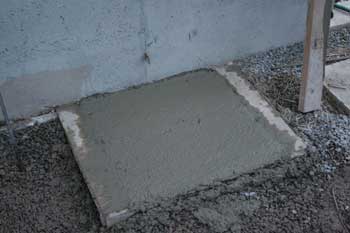
The finished product. At this point, Jillena headed home and Jeff set the center pin for the pole in the concrete, along with two short pins to tie into the round pier which was poured the next day. We should be ready for the rear RPSL next weekend. |
| <-- BACK TO LOG STRUCTURE (PAGE 2) |
BACK TO OUR LOG HOME MAIN PAGE
If you have any questions about this website, e-mail us at stargazer@stargazerpics.com.
HOME | aurorae | moon & lunar eclipses | night sky shots | landscapes | animals unique shots | our wedding | Alaska 2006 | our log home | Stephen | Oliver | Alistair |
These pages and their contents Copyright © All Rights Reserved.