![]()
6-14-08
 |
 |
|
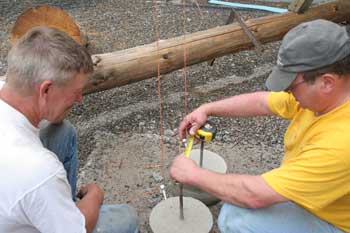
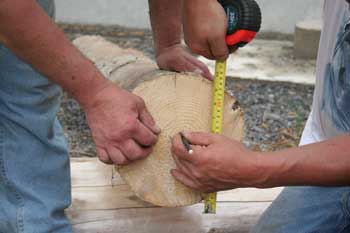
Measuring the distance between pins to determine where to drill the hole in the bottom of the post. |
Looks like Ted's found the pin location. |
|
 |
 |
|
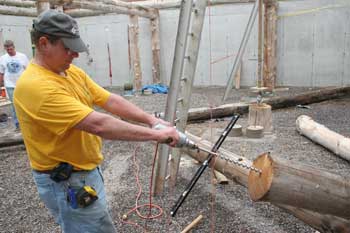
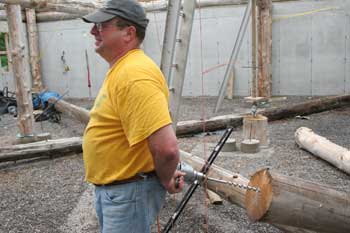
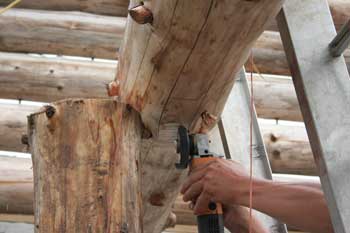
Ted begins drilling the hole... |
...then gets fancy and shows off a little. |
|
 |
 |
|
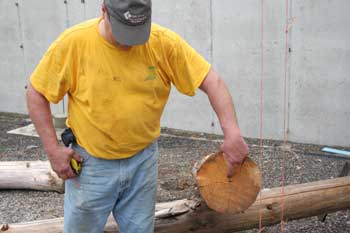
Pulling the bit out cleans the sawdust out of the hole. |
Paul helps line up the hole with the pin. |
|
 |
 |
|
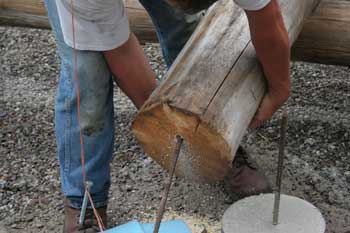
Sliding the post over the pin. |
Like the other posts, this one was cut 1/2" long so we can shave the girder for a tight fit. |
|
 |
 |
|
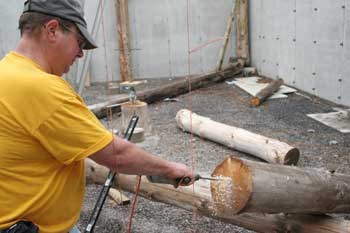
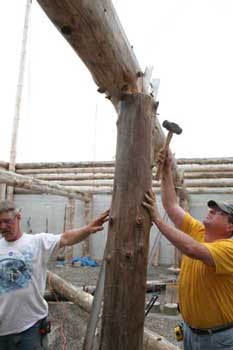
Ted taps the top in to see where the tight spot is on the girder. |
Paul takes the chainsaw wheel to the girder to shave a flat spot to accept the post. |
|
 |
 |
|
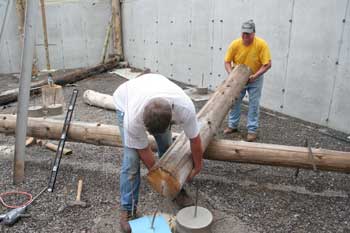
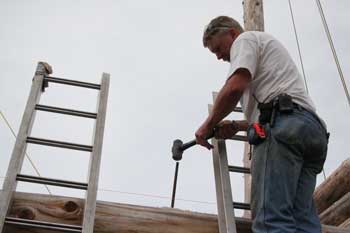
Once the post is under the girder and plumbed, Paul drilled a 1/2" hole down through the girder and drove a long pin through and into the post. |
Marking the pin location for the last of the girder support posts. |
|
 |
 |
|
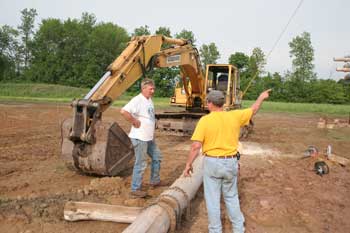
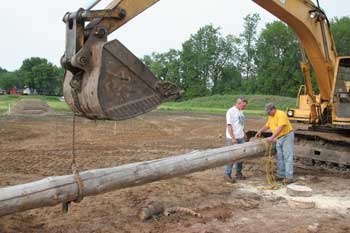
Once the girder posts were finished, it was on to our next major task - figuring how to use the excavator to lift and set the front RPSL. |
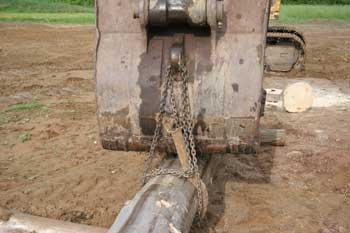
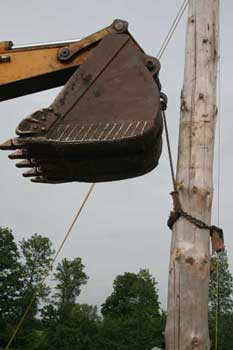
We first tried positioning the bucket over the balance point of the log, and attaching a chain sling to the backside of the bucket... |
|
 |
 |
|
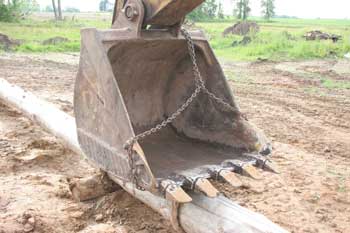
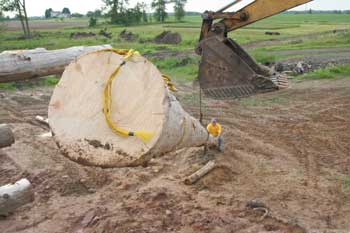
...and another chain sling to the front side. This, we figured, should allow the excavator to stand the post up vertically. |
And it worked, but we quickly realized the difficulty in keeping the log from rolling or pivoting. That seemed a bit dangerous, so we resorted to Plan B. |
|
 |
 |
|
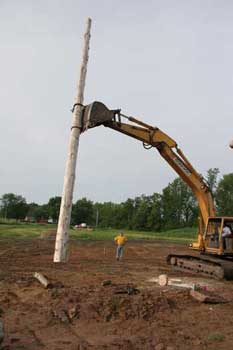
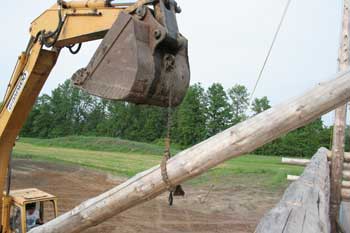
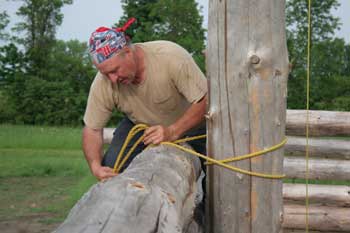
This time we simply used the bucket and one chain sling to lift the log at a point slightly toward the butt end of the balance point. Ted and Paul rigged up two lead lines for control once the pole got over the wall. |
From up on the front wall looking down at the log being lifted up toward the top of the wall. By slinging the log toward the butt end, we relied on physics to keep the butt end up as it approached the wall. |
|
 |
 |
|
Paul slowly lifts the pole up and over the wall. |
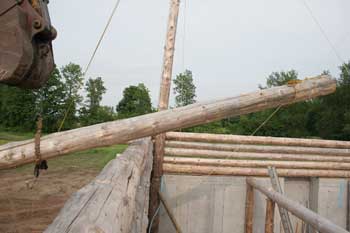
Once the balance point crossed the top of the wall, the butt end could be pulled down. |
|
 |
 |
|
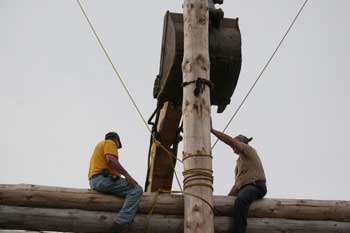
Ted and John used the lead lines to draw the butt end down... |
...and guided it into position over the pier and rebar pin. |
|
 |
 |
|
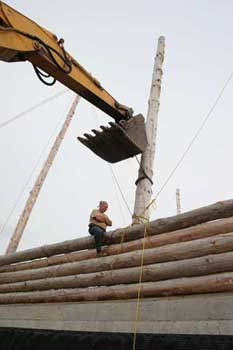
Paul awaits instructions from Jeff up on the wall. |
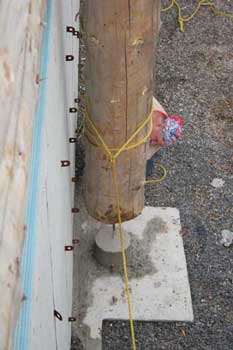
After Ted put a couple of sill sealer foam strips down on the concrete pier, the log was lowered down over the pin. |
|
 |
 |
|
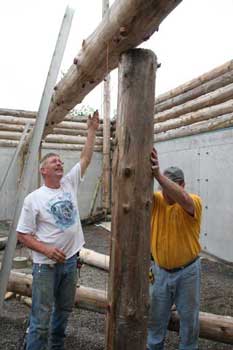
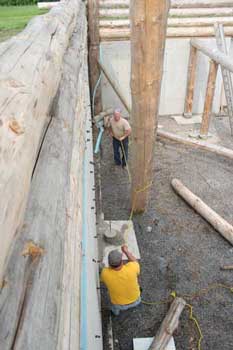
Paul holds the pole steady while John and Ted get the pole roughly plumb. |
Then John climbed up and secured the pole to the front wall with some rope. |
|
 |
 |
|
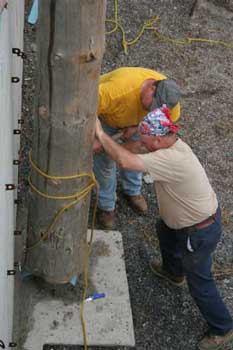
We also used the cross ties from the adjacent lifting poles to help keep the pole in place. |
A view from the outside of the house. Once the ropes were tight, we unhooked the chain sling. We'll bolt this in place tomorrow. |
| <-- BACK TO LOG STRUCTURE (PAGE 2) |
BACK TO OUR LOG HOME MAIN PAGE
If you have any questions about this website, e-mail us at stargazer@stargazerpics.com.
HOME | aurorae | moon & lunar eclipses | night sky shots | landscapes | animals unique shots | our wedding | Alaska 2006 | our log home | Stephen | Oliver | Alistair |
These pages and their contents Copyright © All Rights Reserved.